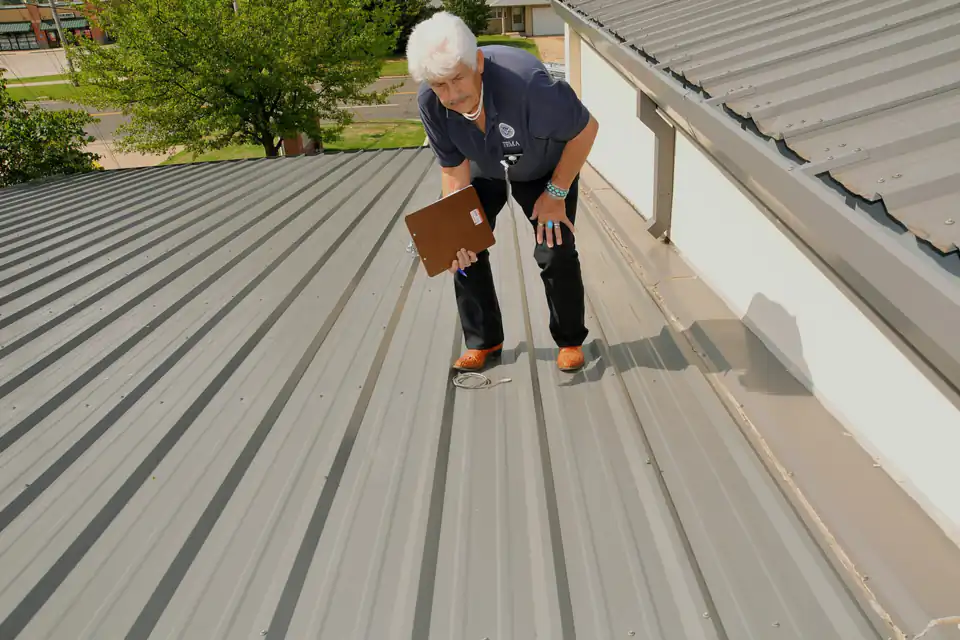
During a roof inspection in Friendswood, a roofer checks the roof surface, flashing, vents, edges and drainage, looks in the attic when it is accessible, and documents what they find with photos. Afterward you should get a plain-language explanation of the roof's condition and, if work is needed, a written estimate. You should not have to go on the roof yourself, and you should not feel pressured to commit to anything on the spot.
Whether you are worried about a leak, checking after a storm or buying a home, knowing what a proper inspection covers helps you get more from it and recognize a thorough one when you see it.
Why homeowners schedule a roof inspection
- After severe weather. Wind, hail and tropical storms can cause damage that is not visible from the ground.
- Signs of a leak. Stains, drips, damp insulation or a musty attic.
- Buying or selling a home. A roofing-focused inspection goes deeper than the roof section of a general home inspection.
- Planning ahead. If you do not know your roof's age or history, an inspection gives you a baseline.
- Before other projects. Solar panels, new gutters or an addition all depend on a sound roof.
Before the inspection: how to prepare
A few minutes of preparation makes the visit more useful:
- Write down what you have noticed. Where stains appear, when leaks happen (every rain, only heavy rain, only wind from one direction) and when you first noticed them.
- Gather any history. Previous repair receipts, the approximate age of the roof, warranty paperwork and insurance claim information if relevant.
- Take photos from safe places. Interior stains, the attic (if you can access it safely) and the roof from the ground.
- Clear access. Make the attic hatch reachable, and let the inspector know about gates, pets or areas to avoid.
Our Roofing Project Planner turns these notes into a short summary you can send ahead of time.
What happens during the inspection
1. A conversation first
A good inspection starts with questions: what you have noticed, the roof's history and what you want to learn. This shapes where the inspector focuses.
2. Ground-level and perimeter check
From the ground, the inspector looks at the overall roof line for sagging, checks gutters and downspouts, and looks at fascia and soffits for staining or rot that can point to water problems at the roof edge.
3. The roof surface
When it is safe to access, the inspector examines the roofing material itself. On shingle roofs, that means looking for missing, cracked, curled or creased shingles, granule loss, exposed fasteners and hail or wind damage. On metal roofs, it includes loose or missing fasteners, worn washers, panel damage and seam or trim issues. Weather and roof conditions affect what can be safely accessed; an inspector should not walk a roof that is wet, very steep or structurally questionable without appropriate equipment.
4. Flashing, penetrations and ventilation
Many leaks start at transitions rather than in the middle of a slope. The inspector checks flashing at walls, chimneys, skylights and valleys, plus pipe boots, vents and ridge ventilation. Cracked pipe boots and loose step flashing are common causes of leaks.
5. The attic
If accessible, the attic often tells the most honest story. The inspector looks for daylight through the deck, water stains on rafters and sheathing, damp or matted insulation, signs of condensation and whether bathroom or kitchen fans vent into the attic. Poor ventilation can shorten the life of shingles in a hot climate like ours.
6. Documentation
Throughout the inspection, the inspector should take photos. Photos let you see conditions on a roof you cannot safely walk, and they create a dated record.
How long does a roof inspection take?
Most residential roof inspections take somewhere around an hour, but a large or complex roof, extensive storm damage or a detailed attic check can take longer. Ask for an expected duration when you schedule.
What you should receive afterward
A useful inspection ends with clear answers:
- Photos of the areas inspected and any issues found.
- A plain-language explanation of what is normal wear, what needs attention now and what can be monitored.
- Recommendations, such as a specific repair, maintenance or, when the evidence supports it, replacement.
- A written estimate if you ask for one, listing scope and price.
An inspection cannot give you an exact number of years left on your roof, and a trustworthy inspector will not pretend it can. What it does give you is an informed view of the roof's current condition.
After a storm: inspections and insurance
After wind or hail, an inspection can help you decide whether there is damage worth reporting to your insurer. Keep in mind:
- Your insurer decides what is covered under your policy. A roofer can document conditions but cannot promise coverage.
- Texas law prohibits contractors from paying, waiving or rebating your insurance deductible.
- If your home is on the Galveston County side of Friendswood and insured through TWIA, ask your insurer or agent about Texas Department of Insurance windstorm inspection requirements before repairs begin.
For more on storm-related work, see our storm damage roof repair page. If you are comparing companies after a storm, our guide on how to choose a roofing contractor lists warning signs to watch for.
Red flags during an inspection
- The inspector will not show you photos of the damage they report.
- You are pressed to sign a contract or an insurance-related form before the inspector leaves.
- Every finding leads straight to full replacement with no explanation of alternatives.
- The inspection skips the attic when it was accessible and you asked for it.
Book an inspection
If you would like us to inspect your roof, learn about our roof inspection service, send an estimate request or call. Tell us what prompted the request and we will plan the visit around it. In the meantime, our seasonal maintenance checklist covers safe checks you can do from the ground.